
Facial Recognition
Introduction
Facial Recognition is used in almost every application that uses some kind of picture. It is primarily used in social media to run facial recognition algorithms to find people in other people’s pictures. Now they even use facial recognition to unlock your cell phone.
My approach will use a machine learning algorithm to take my own dataset as inputs. It will then learn from this data set to attempt to identify me in a crowd in a frame.OpenCV is the main package that will be used in this program. It uses a lot of algorithms that use machine learning to find specific things in a frame. For my example I am using OpenCV to get a frame of a face.Cascades are XML files that contain OpenCV data used to detect objects. For my examples I use the front face xml which helps me identify the faces in a video that I am using. This is just a simple detection file that will help me narrow down my model to a specific area in a frame.
The algorithm needs to understand a couple different data points to be able to run successfully. The height and width of the face, the color of the face, and even the width of other features that are present on the face. A pattern is created from those features that will help the algorithm determine who that person is most likely to be. When we use an image we are looking for the main points to be distinctively different from others so that the pattern could be different.
for x in {1..50}; do imagesnap -w 2 dataset/User.1.$x.jpg; done
This is where I am adding in my dataset. This is a picture of myself to be able to help the model identify who I am. I will take 50 pictures and label them as User.1.
By doing this I will create a dataset folder that I can use to train my model and be able to get a high percentage of probability that I am in a video.
The Model
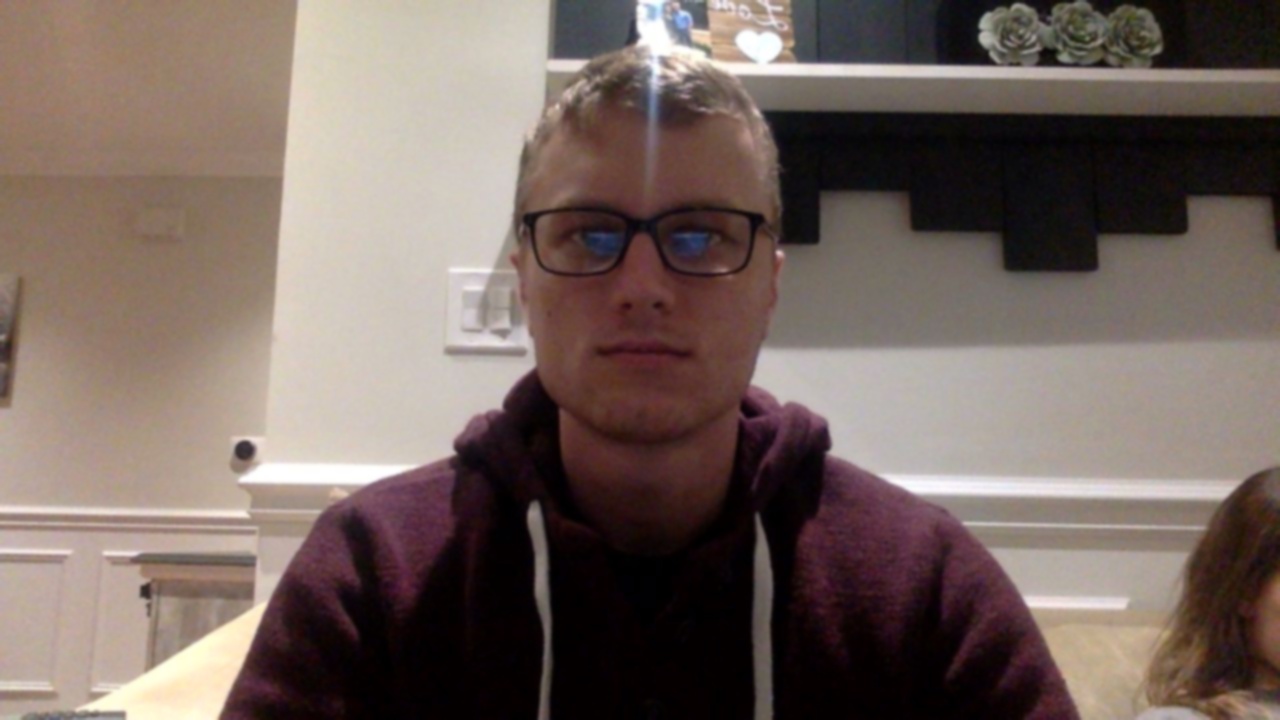
I have found two different methods to take into account when dealing with image classification. But first I will talk about how I captured data. The first step was to take selfies of myself. I took some pictures that were of myself at different angles and different lighting so that I gave the pictures more to work with at different environments. When dealing with the output video I could not account for other variables that could happen in the video therefore I wanted to make sure my pictures were well versed.
for pic in os.listdir(train_dir):
    if pic.split('_')[0] == 'luke':
        label = np.array([1])
    elif pic.split('_')[0] == 'sarah':
        label = np.array([2])
    img = cv2.imread(os.path.join(train_dir,pic))
    data = np.array(img)
    training_data.append([data,label])

train = training_data[:-30]
test = training_data[-30:]
x_train = np.array([i[0] for i in train]).reshape(-1,720, 1280, 3)
y_train = np.array([i[1] for i in train])
x_test = np.array([i[0] for i in test]).reshape(-1,720, 1280, 3)
y_test = np.array([i[1] for i in test])
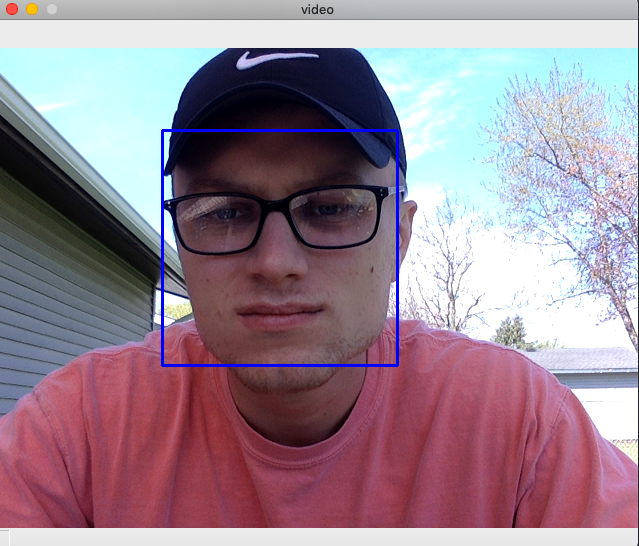
My first step was to capture these pictures and identify where the face was at in the picture. I used the cv2 library to be able to identify the faces. CascadeClassifier uses the xml file called faarascade_frontalface_default to help the code identify the front of the face. After the face has been identified in the image then the code will draw a rectangle around the face. This will help to make sure that the model is only focused on that portion of the image for best results. Also, I will transform the image into a gray format. Coming away from the Blue, Green, and Red format helps save memory and also allows my models to run faster as the picture’s matrix is now to 100 instead of 300.
import cv2
import numpy as np
from PIL import Image
import os

path = 'dataset'
recognizer = cv2.face.LBPHFaceRecognizer_create()
detector = cv2.CascadeClassifier("haarcascade_frontalface_default.xml")
gray = cv2.cvtColor(img, cv2.COLOR_BGR2GRAY)
  faces = face_detector.detectMultiScale(gray, 1.3, 5)
  for (x,y,w,h) in faces:
      cv2.rectangle(img, (x,y), (x+w,y+h), (255,0,0), 2)
      count += 1
In my second step this is where I have found two different methods have worked. The first step is to simply use the algorithm in the LBPH Face Recognizer. The OpenCV library has three different processes for facial recognition but this one appears to be the best for this use case. The method works by taking a 3 x 3 window across the entire picture to help identify and classify each pixel. This will then assign an intensity value that is either less or equal to the center pixel by 1 and the rest by 0. So as this method progresses it is going to find a binary pattern that will be able to assign to that picture. This does not require blue, red, green formats which is why we changed it to grayscale above. The images will then be able to create a histogram using the frequency diagram. In my project there are two people being identified so there should be 2 histograms after training in the process.
Now I was ready to feed my data and binary pattern into the model. After training the model I quickly became aware of the results. The recognizer was no better than a flip of a coin. The accuracy was 50 to 60 percent. This was not going to be good enough for facial recognition.
My second attempt I looked at using the library keras. The model type that I found to be the best way Sequential. It will take a layer approach to the problem allowing for modification. The first two layers that I am handling are Conv2D layers. It handles the input images that will be used to identify the matrix and the picture. The next layer will be the filter matrix. This, much like the other method, will take a 3 x 3 filter across the image and find the binary pattern. The next layer will be the ReLU or the Rectified Linear Activation layer. The activation method is softmax which means the output sum up to 1 to the output can be used as a probability. From there the model will be able to make the prediction as to who it thinks the image is about.
model = Sequential()

model.add(Conv2D(32, (5, 5), activation='relu', input_shape=(720, 1280,1)))
model.add(MaxPooling2D(pool_size=(2, 2)))
model.add(Conv2D(64, (5, 5), activation='relu'))
model.add(MaxPooling2D(pool_size=(2, 2)))
model.add(Flatten())
model.add(Dense(1000, activation='relu'))
model.add(Dense(3, activation='softmax'))
model.compile(loss='categorical_crossentropy',optimizer='adam',metrics=['accuracy'])
The results
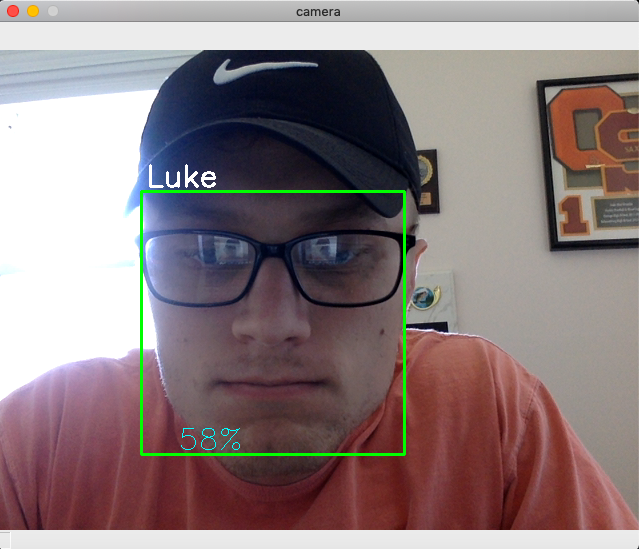
The model will be able to be used when I am capturing video through a camera. The video will use the Cascade Classifier to be able to do frontal face detection. This means it will find my face or other faces in the video. Then it will track my face in the video and track faces by outlining it with a box. I will be using this again the model that I have created to be able to first identify the face then who that is most likely to be.
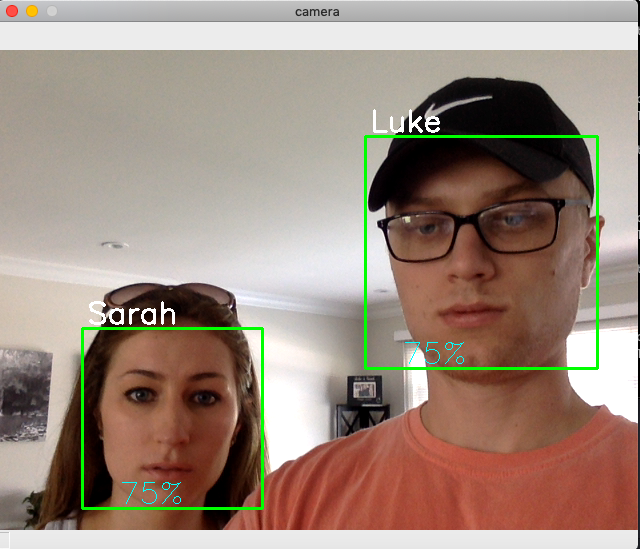
Then based on how well my model was training with the data pictures the model will predict who I am and how confident it was of that decision. The purpose of this project is to be able to find the person of interest out of a group of people. So when the video does play I am looking for the output to predict who that person of interest is.
With my first attempt I had a result of 50-60% confidence at time. This was not high enough to constitute a successful project. After I changed the method of which I was analyzing the images by accuracy jumped to 70 - 80% while doing video.
Improvements and Issues
The CascadeClassifier used the xml file called faarascade_frontalface_default. This was an issue as it sometimes would use different areas on the picture. When I would turn my head and change the lighting it would take a smaller portion of my face for the model. This causes issues as the pattern and algorithm when then messed up as all those pictures were labeled as me. So the accuracy would suffer. Then there were other times that the method would take my hair into consideration and sometimes it would not. So one area of improvement that I see was how the images are originally classified. If I could improve that then I believe that my model would work better.
The quality of the camera has another issue. Since the method is analyzing pixels it is obvious that the better the camera the higher the pixels. If I had a camera with higher pixel counts my model could have been more accurate.
Youtube
https://youtu.be/cV28MwmKMxc
Paper
https://github.com/SudoZyphr/facial_recognition/blob/master/Facial_regonition.pdf
References
https://www.geeksforgeeks.org/image-classifier-using-cnn/ https://towardsdatascience.com/a-simple-cnn-multi-image-classifier-31c463324fa https://medium.com/@randerson112358/classify-images-using-convolutional-neural-networks-python-a89cecc8c679 https://becominghuman.ai/building-an-image-classifier-using-deep-learning-in-python-totally-from-a-beginners-perspective-be8dbaf22dd8 https://www.edureka.co/blog/convolutional-neural-network/ https://www.analyticsvidhya.com/blog/2020/02/learn-image-classification-cnn-convolutional-neural-networks-3-datasets/ https://www.tensorflow.org/tutorials/images/cnn https://cv-tricks.com/tensorflow-tutorial/training-convolutional-neural-network-for-image-classification/